
‘How-To’ Awesome Neckerchief Slides Part 2: ‘Blanking Out’ and New Templates!

By Jeffrey Bishop
A popular summer camp activity is carving wood — either in pursuit of the Wood Carving Merit Badge, or just to fill idle time at the campsite. This time can be all the more productive with a nice, accessible project for the boys, and we’ve had a good response to our template featuring more than a dozen Awesome Neckerchief Slide Designs! So much so, that we’ve come up with some more great designs:
Scurry Tails Neckerchief Pattern Set B
Click the link above to download a new worksheet with instructions and patterns that you can print out and take on your next camp out or den / troop meeting!
Note that both pattern templates look “muddy” when viewed in our Firefox browser, but appear fine in Explorer and Chrome; our apologies for any difficulty with this.
We’ve also provided have some step-by-step instructions here for blanking out — for how to create a wood blank — by transferring your favorite template design onto a block of wood:
Option 1: Transfer paper: Simply place a layer of commercial transfer paper — available at hobby shops and office supply stores — between the template and your wood block. Trace over your chosen design with pencil, pressing firmly and staying on the lines of the template. Being careful to not slide your layers out of place, peel up a corner of the template and transfer paper to see how you are doing — you might need to press harder or go over your lines more than once for a good transfer
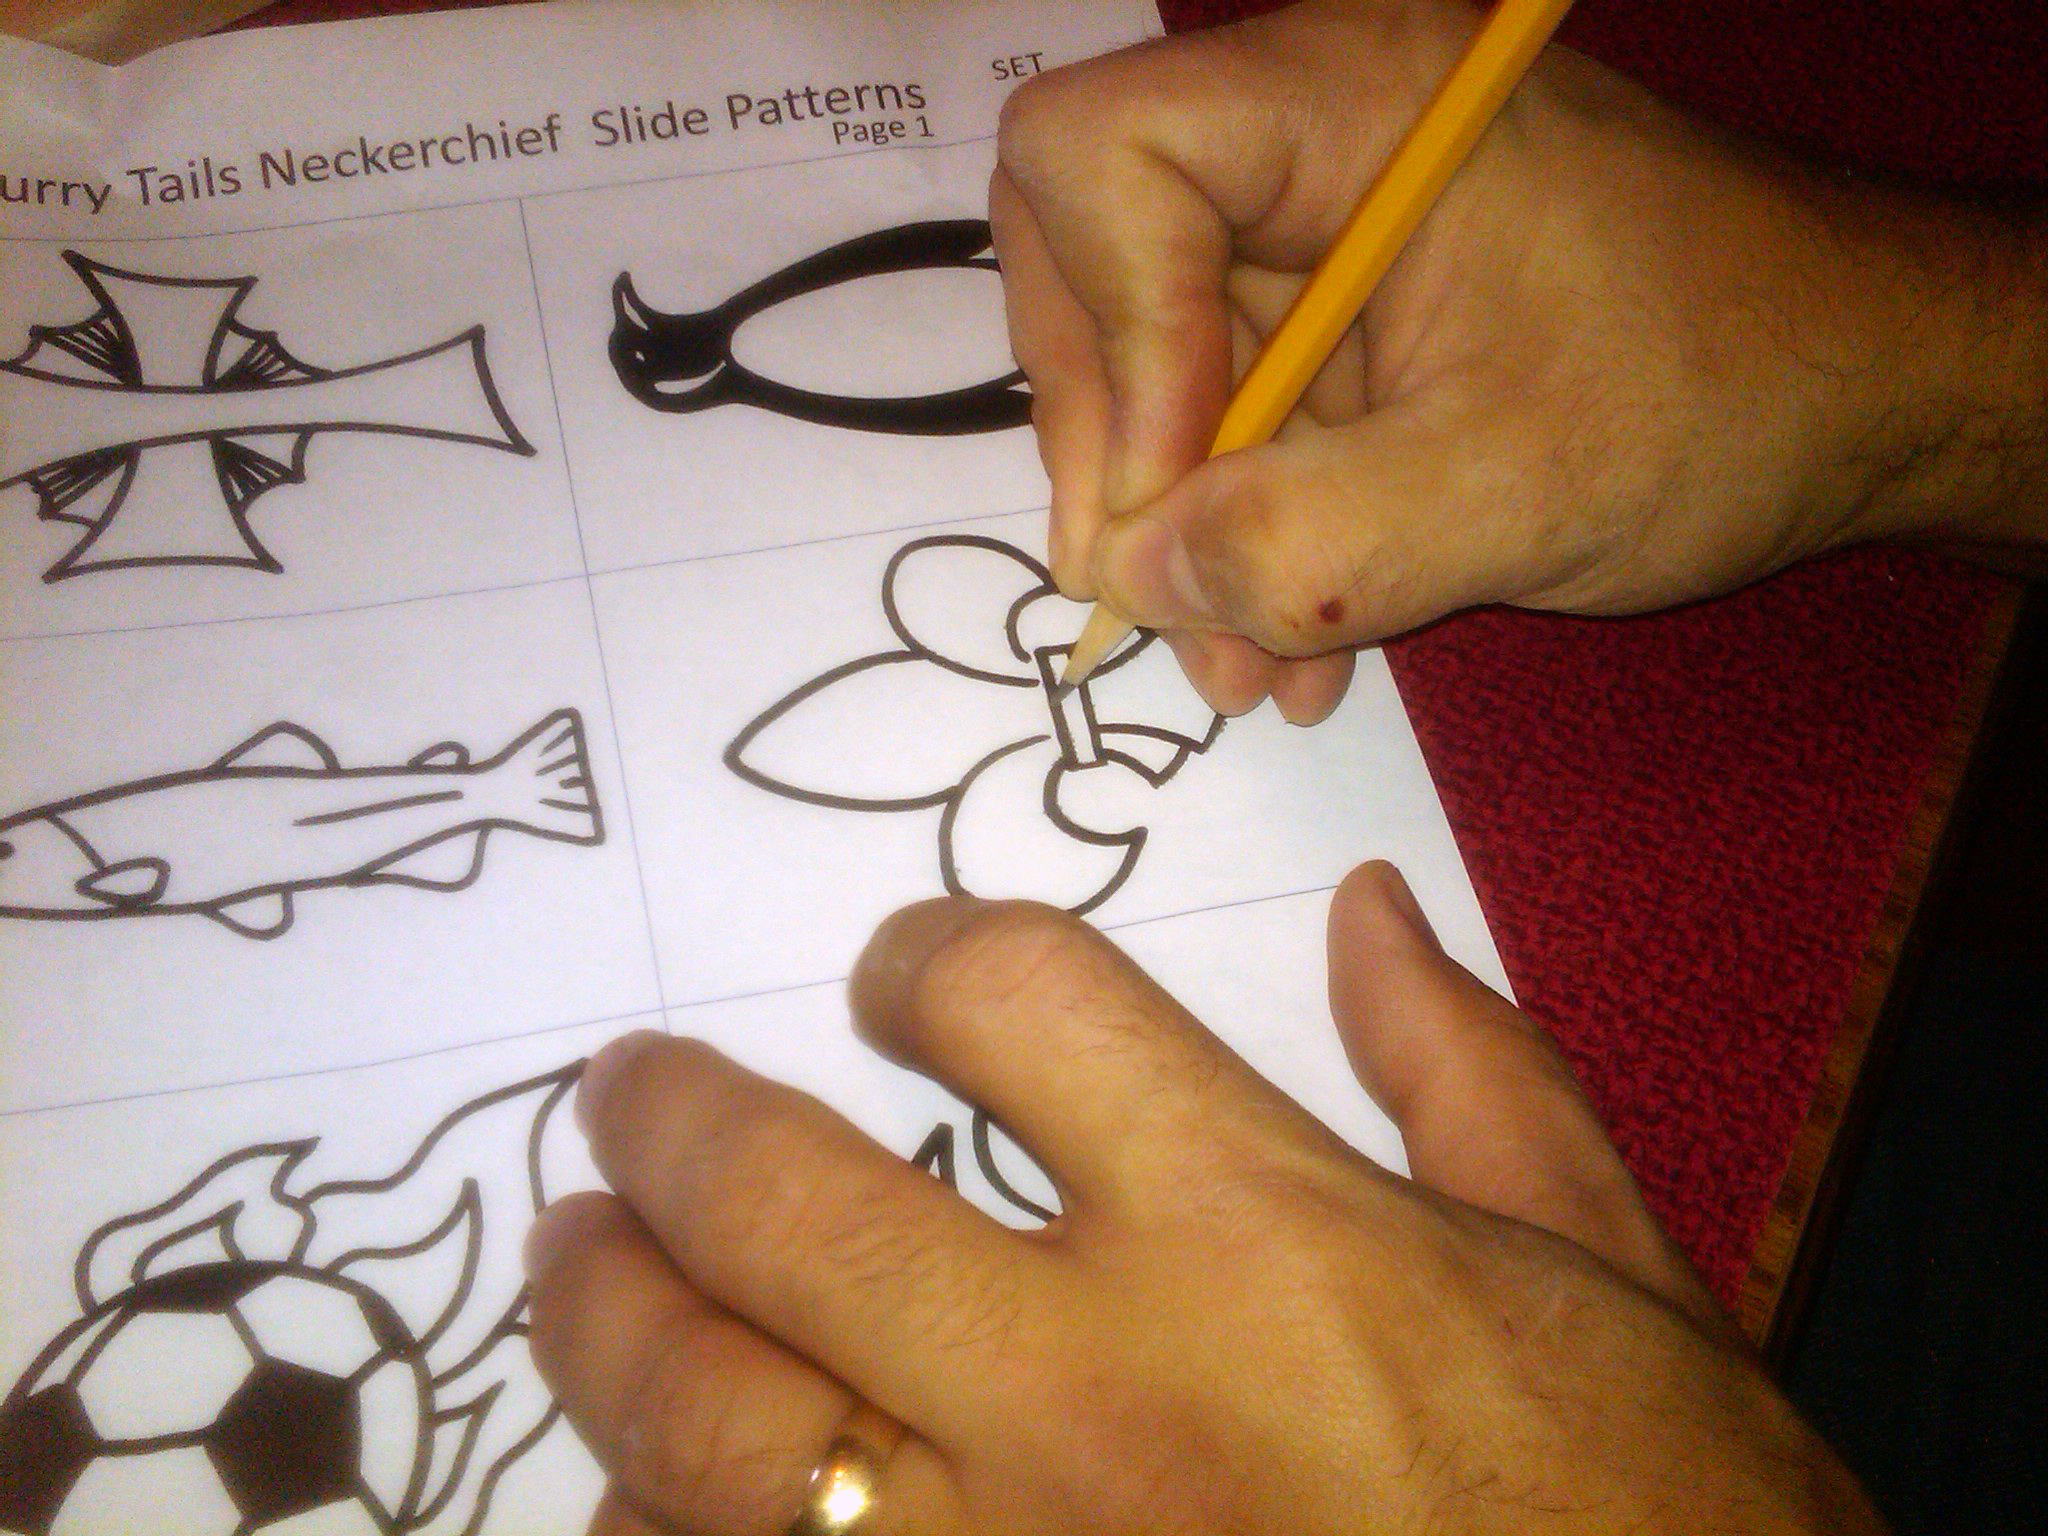
Option 2: Push pin: Depending on how soft your wood is, you can also use a push pin to transfer the design from the template to your block of wood. To do so, place the template over the block of wood and repeatedly push a pin or needle into the wood through the lines on the template design. A tip is to color across the back of your chosen design with soft pencil, as the pin will push the graphite into the wood to help mark your design on the wood.

Again, being careful to not disturb the alignment of your layers, be sure to lift up a corner of your template to test progress. When finished, you should see a series of small dots on your wood blank that reflect the image of the design you just transferred.
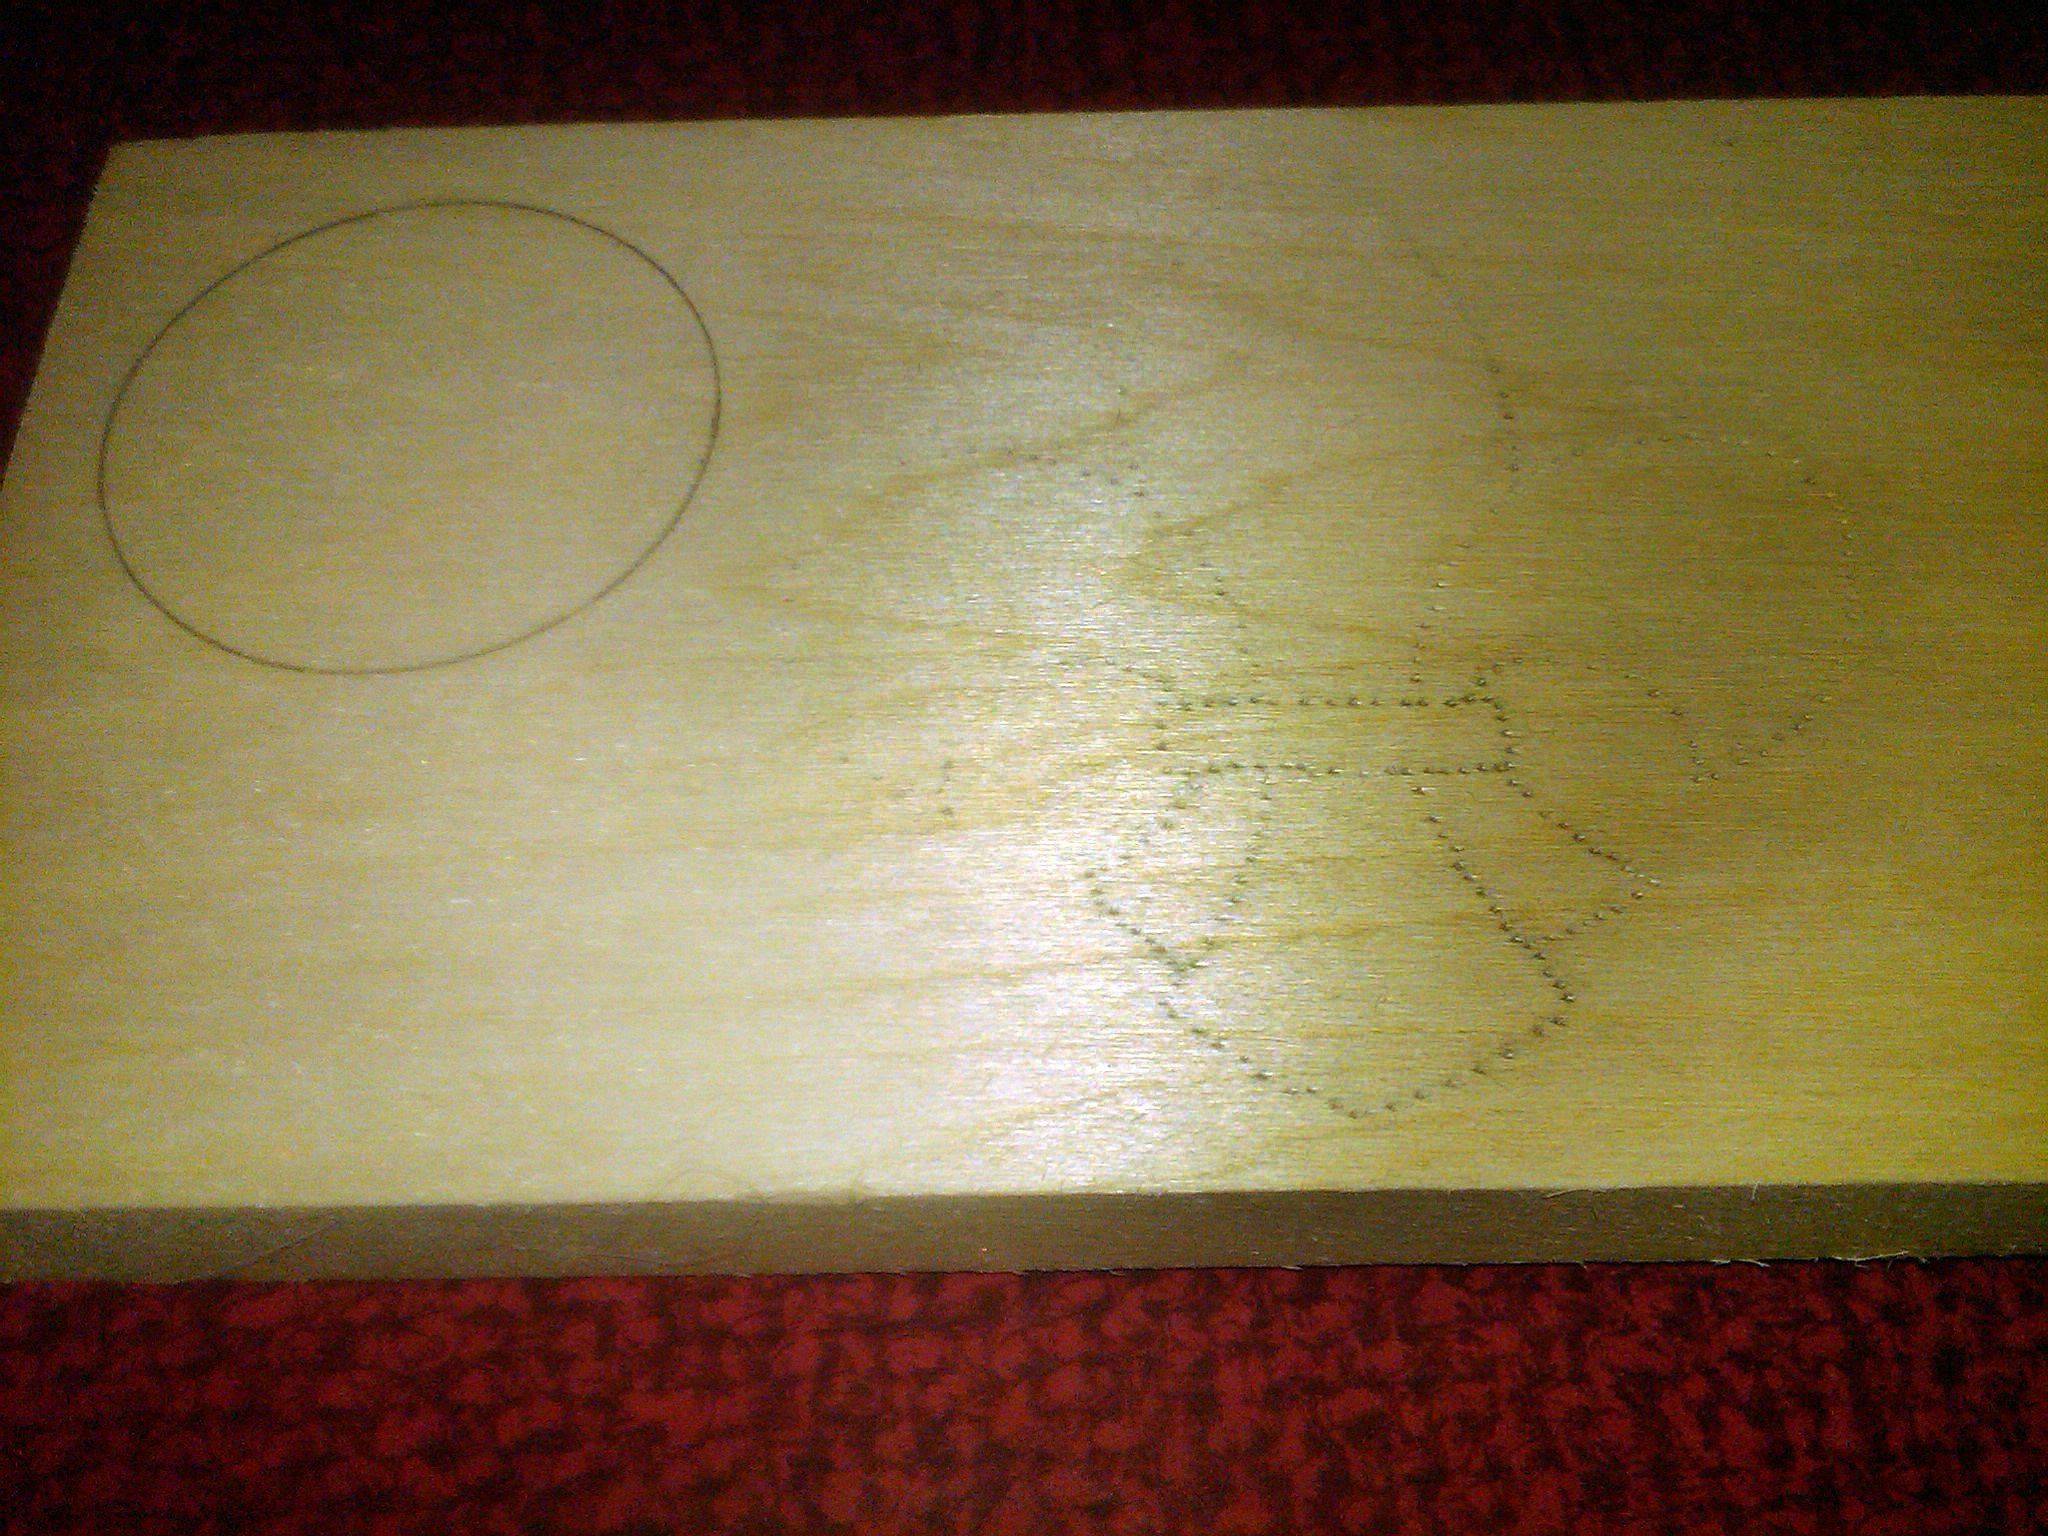
Trace over these dots with pencil to see the pattern well.

At this point, the pattern has been transferred, and can now be cut out with a hand jig saw or a scroll saw prior to carving.

Best of luck with these patterns; and we’d love to see pics of your finished projects — especially if you used one of our templates!
THE END
Copyright 2013

